
Tile Flooring
TILE FLOORING IN Wakefield, MA
Cracked grout and lifted edges almost always trace back to a subfloor that was never properly checked. Bayview Building Services preps substrates thoroughly and sets tile with careful attention to layout for homeowners across Wakefield, MA, Reading, Melrose, and Lynnfield. With years of flooring experience across Middlesex County, we plan every layout so cuts fall in the least visible spots. Request a free estimate and we will assess your space first.
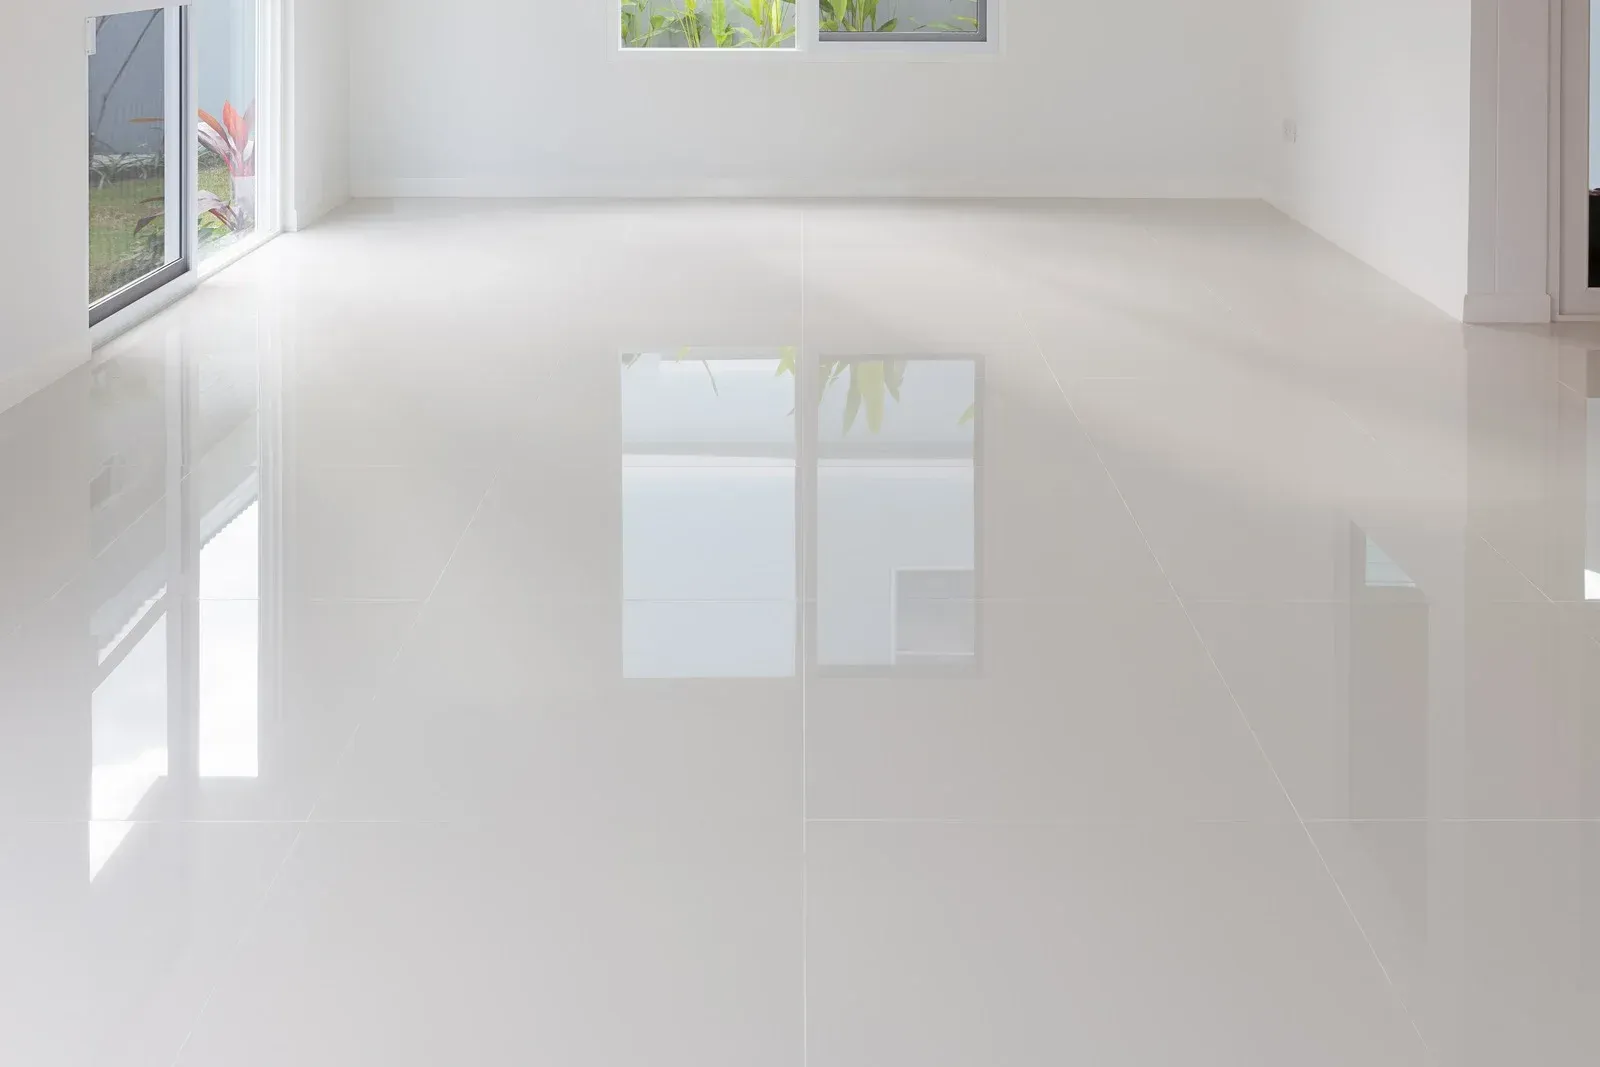
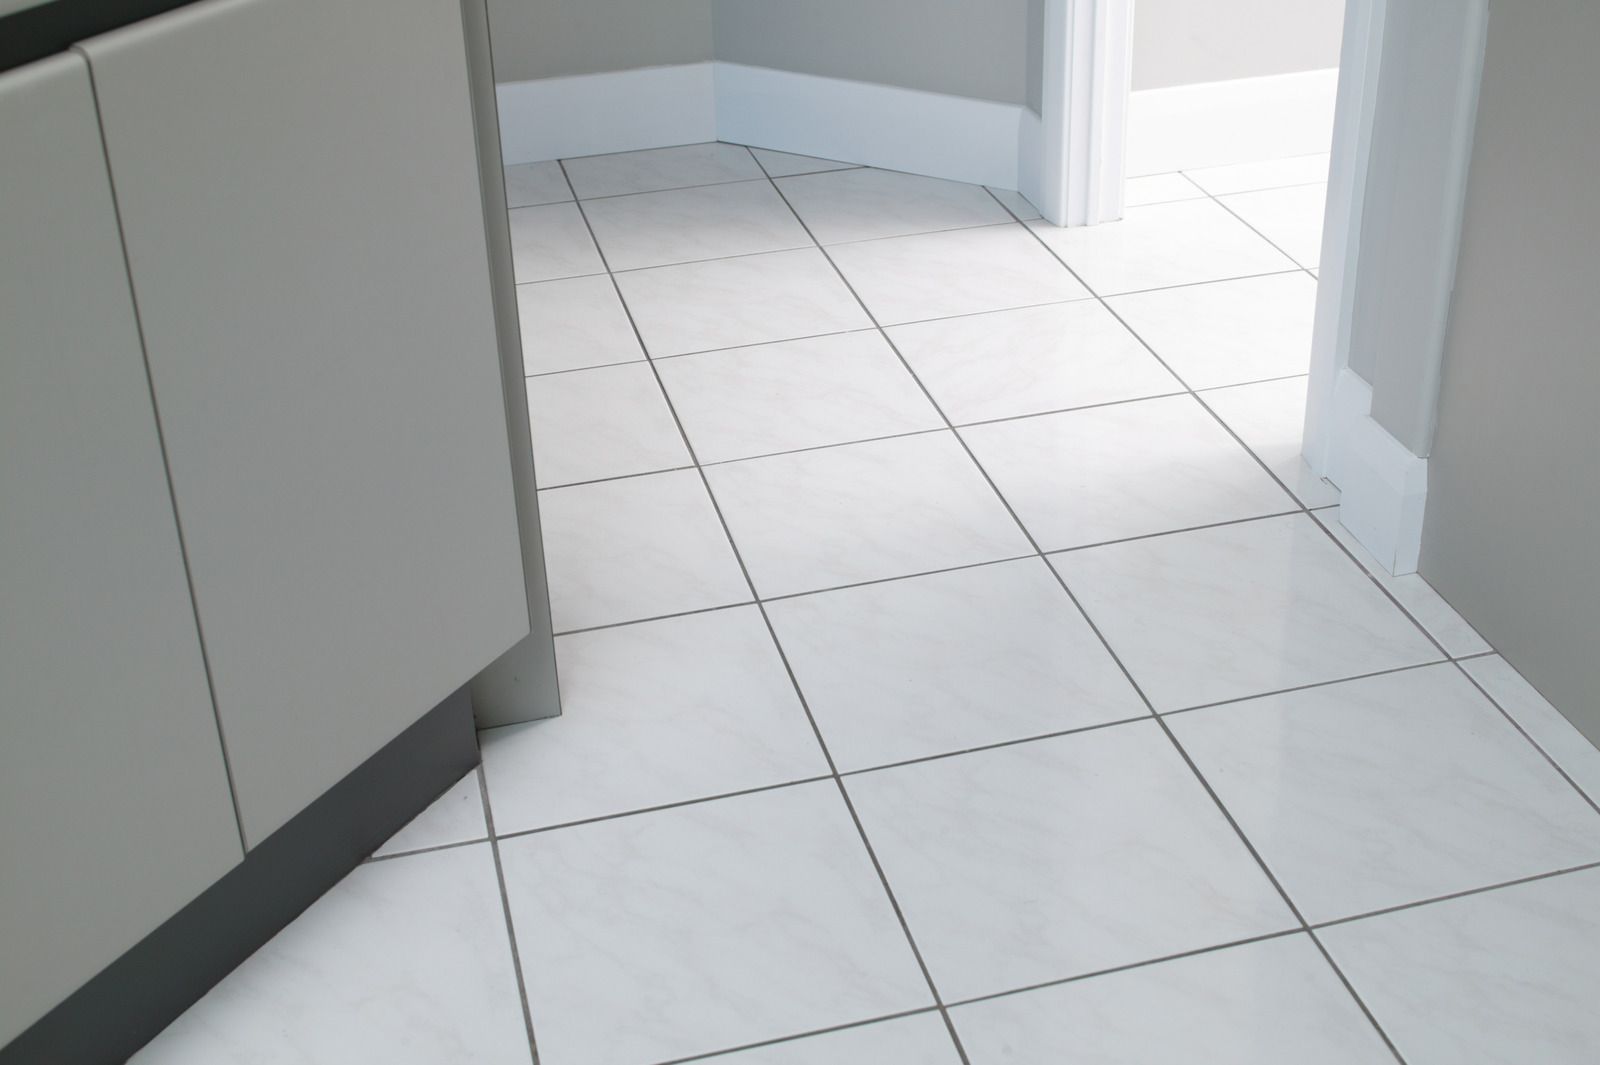
CRACKED GROUT LINES USUALLY START WITH A SUBFLOOR PROBLEM.
Most tile failures we get called to fix trace back to subfloor deflection or improper substrate prep, not the tile itself. We verify subfloor flatness and rigidity before installation, adding backer board or leveling compound where needed, so the tile bonds to a stable surface that will not flex and crack the grout lines as your home settles and shifts seasonally.
Homeowners across Wakefield choose our tile work because we address the foundation, not just the finish.
✓ Full subfloor flatness verification
✓ Proper backer board installation
✓ Careful layout planning for cuts
✓ Level, even tile setting throughout
TILE FLOORING
GET A TILE FLOOR IN YOUR WAKEFIELD HOME THAT ACTUALLY LASTS.
Kitchens, bathrooms, and entryways all put tile through daily moisture and traffic stress, and a properly installed floor should handle years of that use without cracking or loosening. We prep the substrate correctly, plan tile layout to minimize awkward cuts, and set every tile with attention to level and spacing for a floor that performs as well as it looks.
WAKEFIELD BATHROOMS AND KITCHENS NEED TILE SET FOR MOISTURE AND TRAFFIC.
Bathrooms and kitchens present different challenges than a dry hallway, from constant moisture exposure to daily foot traffic near sinks and stoves. We select waterproofing methods and grout products suited to each specific room, rather than treating every tile installation identically regardless of where it goes.
OUR CREW HAS SET TILE FLOORS FOR YEARS.
Tile work rewards precision at every step, from subfloor prep to layout planning to the actual setting process, and real experience means fewer surprises and a floor that stays level and crack-free for years after installation.
WHAT TILE FLOORING DELIVERS
Long-Term Durability
Properly installed tile over a prepared subfloor resists cracking, loosening, and grout failure far longer than a rushed installation over an unverified base.
Moisture Resistance
Correct waterproofing methods in bathrooms and kitchens protect the subfloor and surrounding structure from water damage that untreated installations risk over time.
A Clean, Intentional Layout
Careful planning places tile cuts in the least visible locations, giving your finished floor a more polished, intentional appearance than an unplanned layout.
Easy Long-Term Maintenance
Tile resists stains and wears well under regular cleaning, making it one of the lower-maintenance flooring options for high-traffic, high-moisture rooms.
Increased Property Value
Updated tile in kitchens and bathrooms is one of the improvements buyers notice and value most, often supporting stronger offers during resale.
Design Flexibility
Tile offers extensive options in size, pattern, and material, letting you achieve a specific design vision that other flooring types cannot replicate as precisely.
WHAT WE OFFER
OUR TILE FLOORING WORK
Tile projects vary by room and material, and we bring the right substrate prep and setting technique to each specific installation.
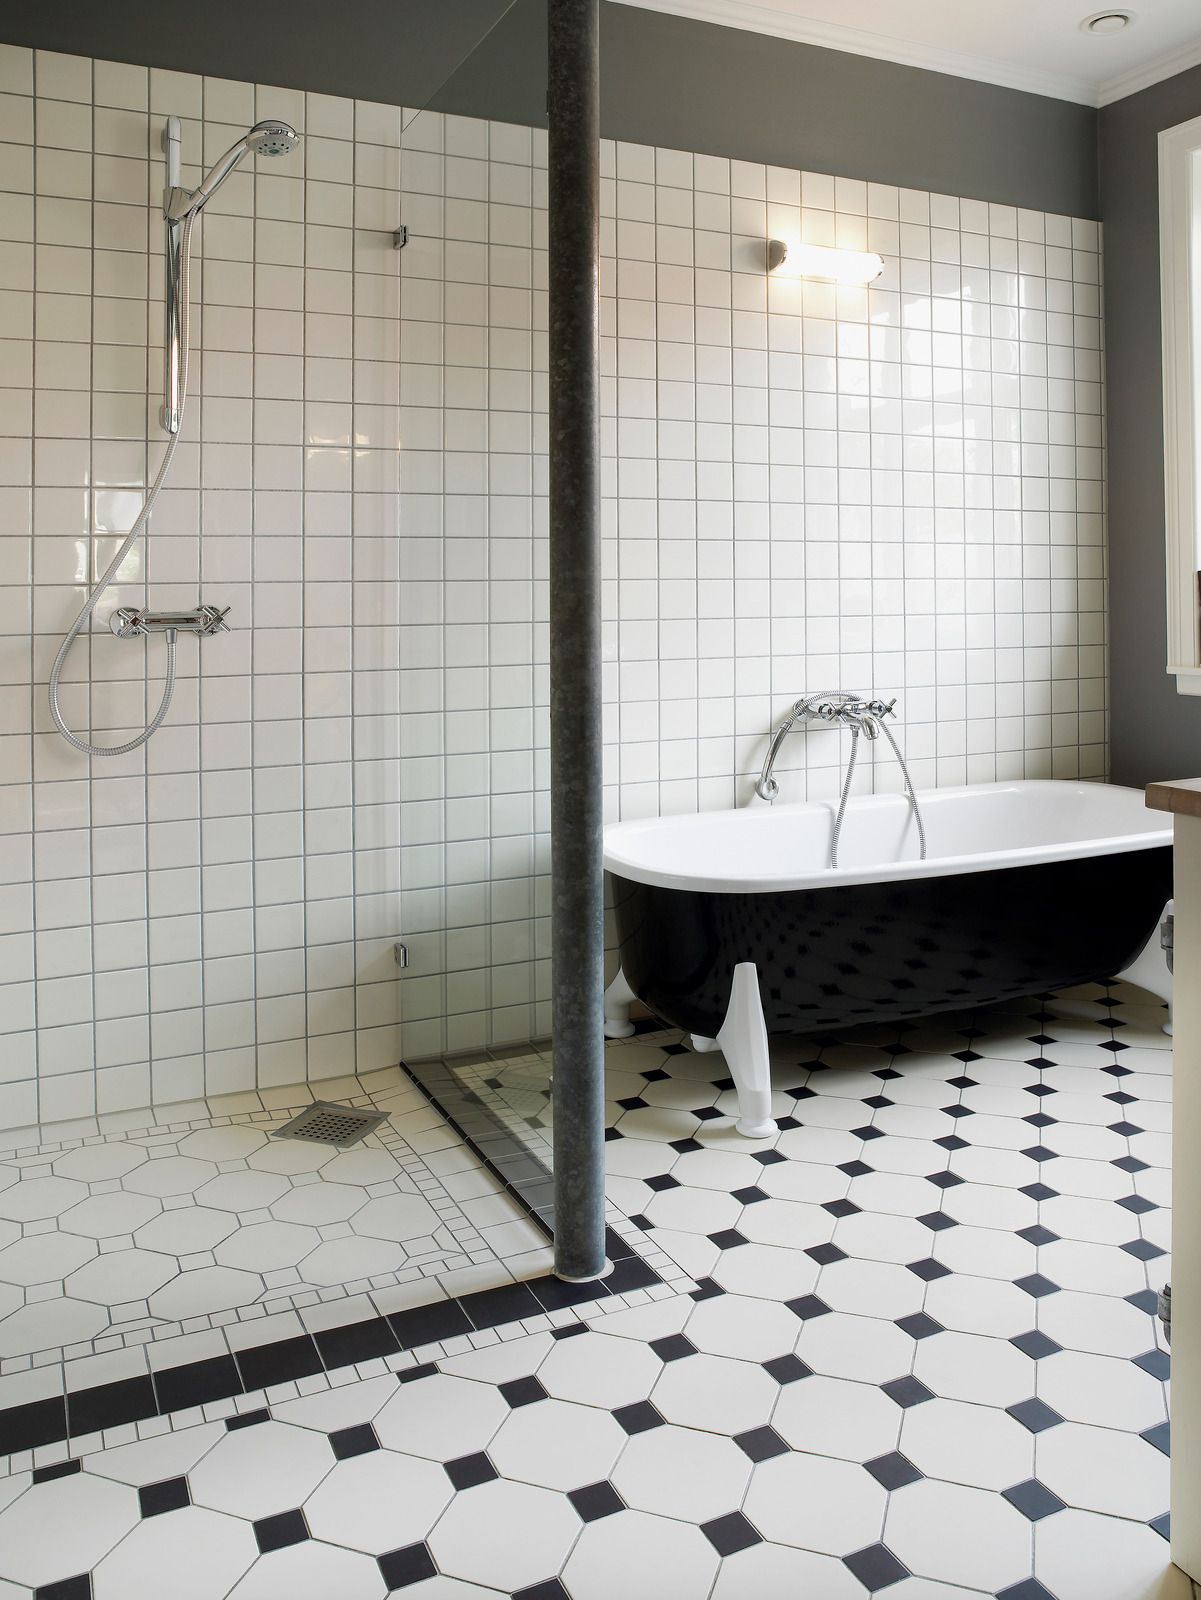
BATHROOM TILE
Bathroom Tile Flooring
Moisture-prone bathroom floors get proper waterproofing beneath the tile, protecting the subfloor from the daily water exposure this room experiences.
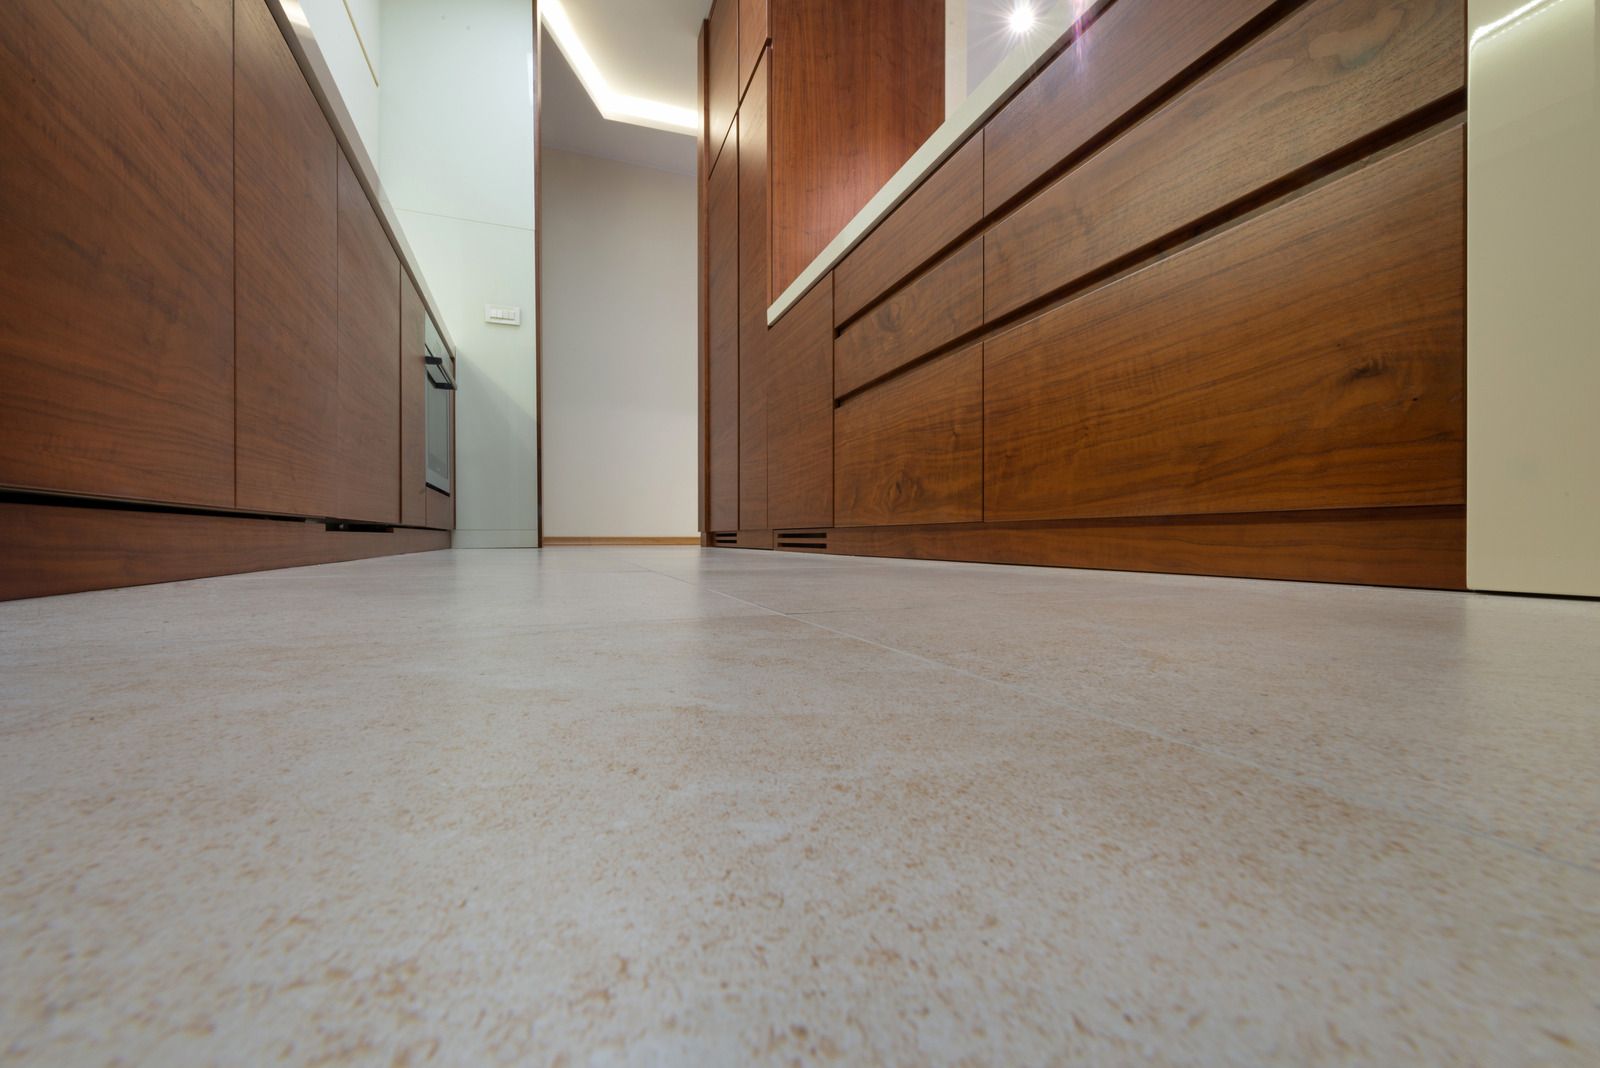
KITCHEN TILE
Kitchen Tile Flooring
Kitchen floors take heavy foot traffic and occasional spills, and we select durable tile and grout products suited to that combination of stress.
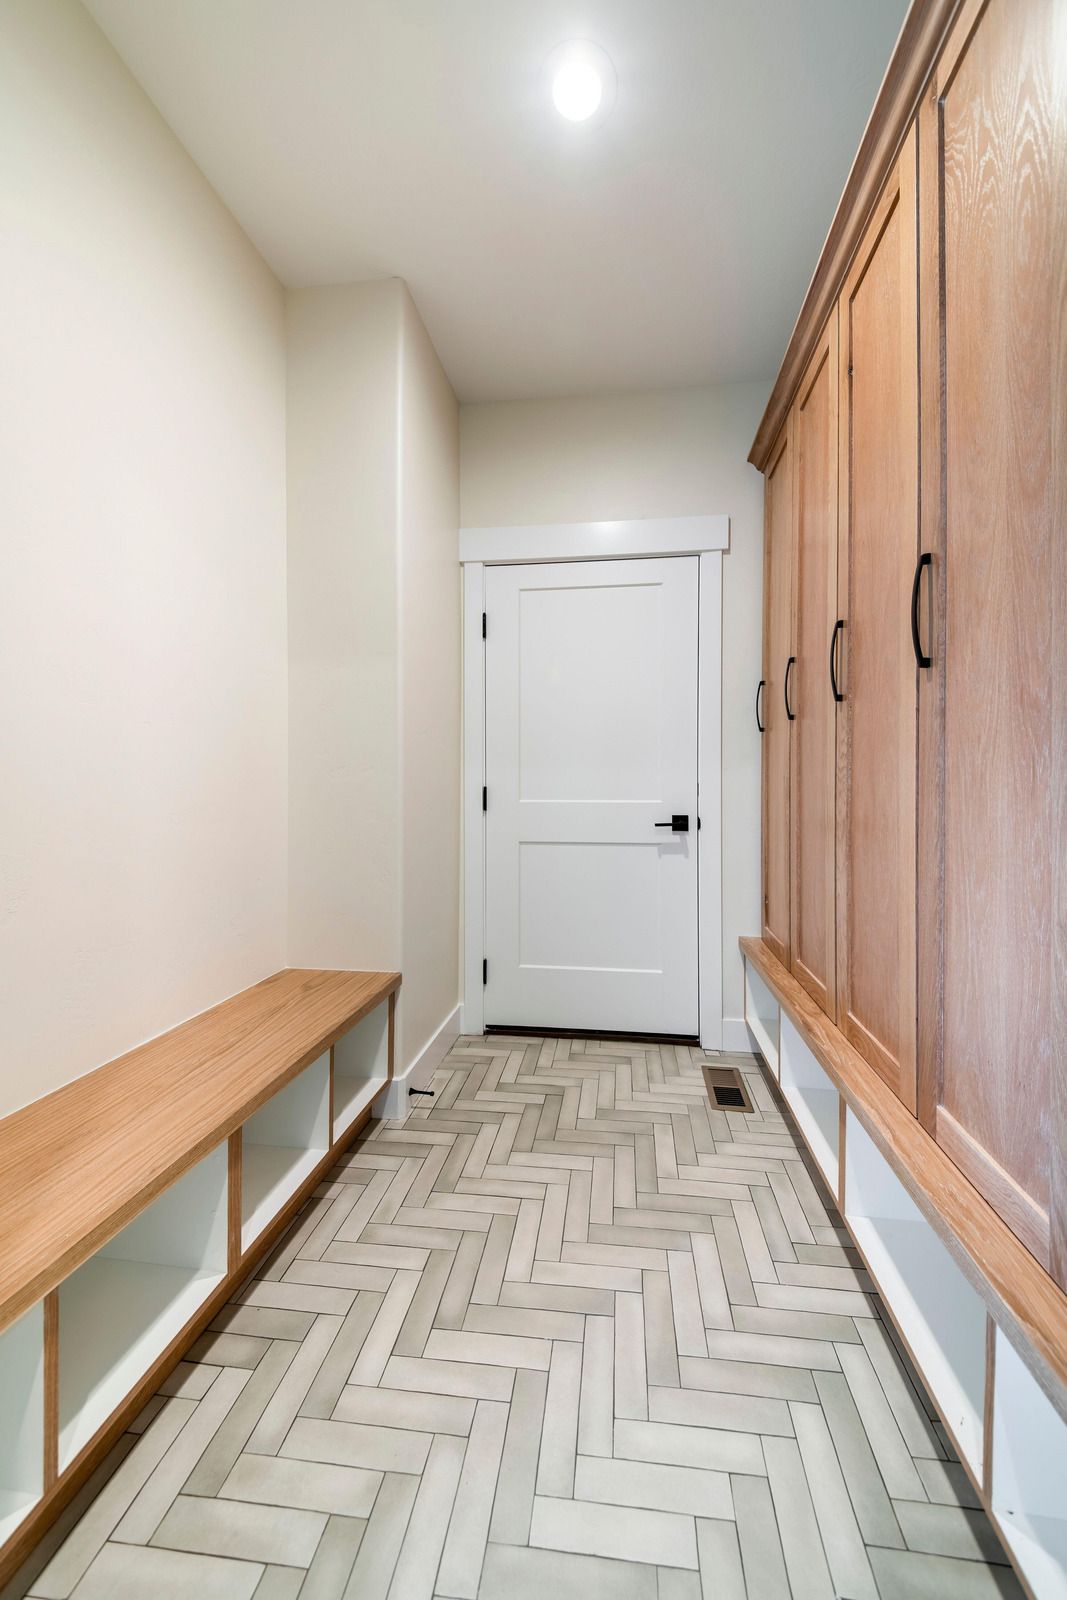
ENTRYWAY TILE
Entryway and Mudroom Tile
High-traffic entry areas benefit from durable, easy-to-clean tile that handles dirt, moisture, and daily wear better than many other flooring options.

SUBFLOOR PREP
Substrate Preparation
We verify subfloor flatness and install backer board or leveling compound as needed, addressing the foundation issues that cause most tile failures.

LARGE FORMAT TILE
Large Format Tile Installation
Bigger tiles require even more precise substrate flatness, and we adjust our prep process accordingly to prevent lippage and uneven edges.
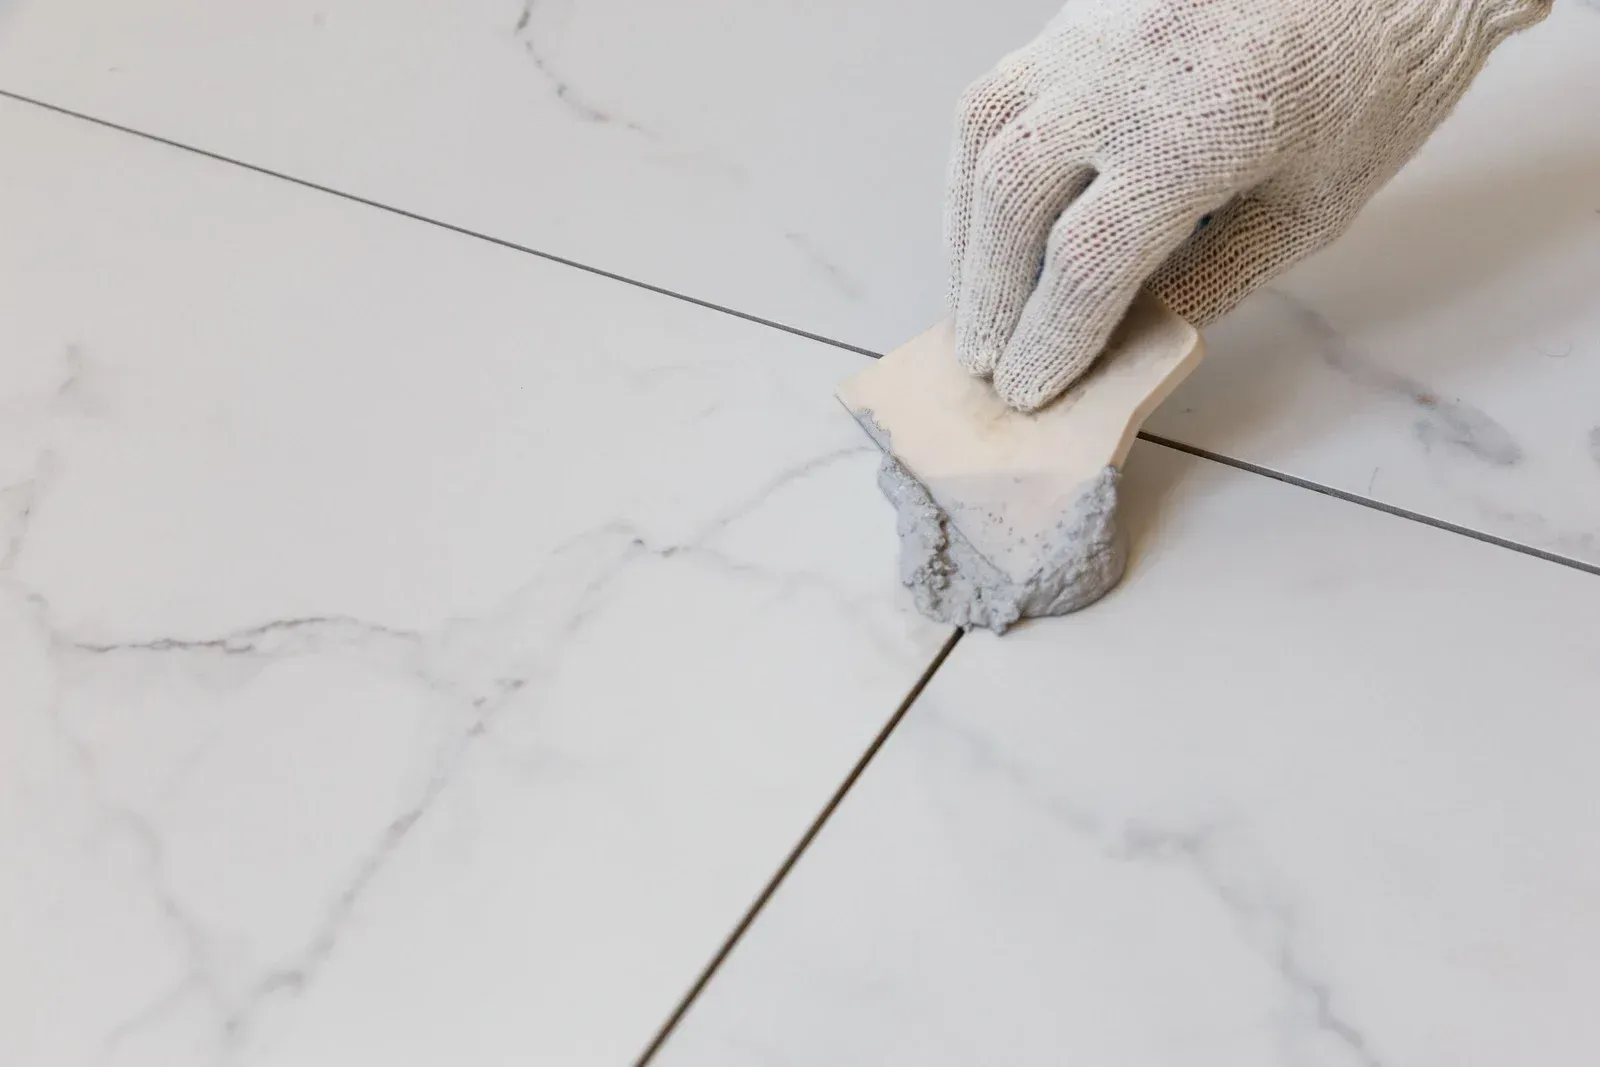
GROUT AND SEALING
Grout Installation and Sealing
Proper grout application and sealing protect against staining and moisture intrusion, extending the life and appearance of your finished tile floor.
FAQ
FREQUENTLY ASKED QUESTIONS.
Tile flooring involves substrate and material decisions homeowners rarely make often, so here are the questions we hear most.
Why does my subfloor matter for a tile installation?
Tile requires a flat, rigid surface to bond properly. An uneven or flexing subfloor causes grout to crack and tiles to loosen over time, regardless of installation quality otherwise.
How long does a typical tile flooring installation take?
A standard bathroom floor often takes one to two days including prep and curing time, while larger kitchen or entryway projects may take three to five days depending on scope.
Can you install tile over my existing flooring?
It depends on the existing surface and its condition. In some cases we can tile over a stable subfloor, while others require removal of the old flooring first for proper adhesion.
What waterproofing do you use in bathrooms?
We apply waterproof membrane systems beneath bathroom tile, protecting the subfloor from moisture intrusion that could otherwise lead to rot or mold over time.
How do you decide where tile cuts go in a room?
We plan the layout before setting any tile, positioning full tiles in the most visible areas and placing necessary cuts along walls or under fixtures where they are less noticeable.
Does grout color matter for maintenance and appearance?
Yes. Lighter grout shows staining more visibly over time, while darker grout hides dirt better. We discuss these tradeoffs with you before finalizing your material selections.
Can you match tile in a repair to my existing floor?
In many cases, yes, if matching tile is still available. When an exact match is not possible, we can discuss options for a complementary repair approach instead.
Why should I choose Bayview Building Services for tile flooring?
Our flooring background means we get subfloor prep and layout planning right, producing a tile floor that stays level and crack-free for years.
HOW WE WORK
FROM SUBFLOOR CHECK TO A FINISHED TILE FLOOR, HERE IS HOW.
STEP 01
Assess the Room and Subfloor
We evaluate subfloor flatness and stability, along with moisture conditions in bathrooms and kitchens, before recommending a tile and prep approach.
STEP 02
Provide a Written Estimate
You receive an itemized estimate covering materials, substrate prep, and labor, along with a realistic project timeline.
STEP 03
Prepare the Substrate
We install backer board, waterproofing, or leveling compound as needed to create a stable, flat base for the tile installation.
STEP 04
Plan the Tile Layout
We dry-lay the pattern and plan cut placement before setting any tile permanently, ensuring the finished layout looks intentional.
STEP 05
Set and Grout the Tile
Tile gets set with proper spacing and level, then grouted and sealed once fully cured for a finished, durable floor surface.
STEP 06
Final Inspection
We walk the finished floor with you, checking level, spacing, and grout quality before considering the installation complete.
Get Your Free Estimate
GET A DETAILED TILE FLOORING ESTIMATE, FREE.
Tell us about your tile project and we will assess your subfloor and space, then send a written estimate with no obligation to proceed.
WHAT YOUR ESTIMATE COVERS
✓ Full subfloor and moisture assessment
✓ Tile and grout recommendations
✓ Itemized materials and labor breakdown
✓ A realistic project timeline
✓ Layout planning for minimal visible cuts
✓ No pressure to commit on the spot